Last Updated on December 9, 2020 by
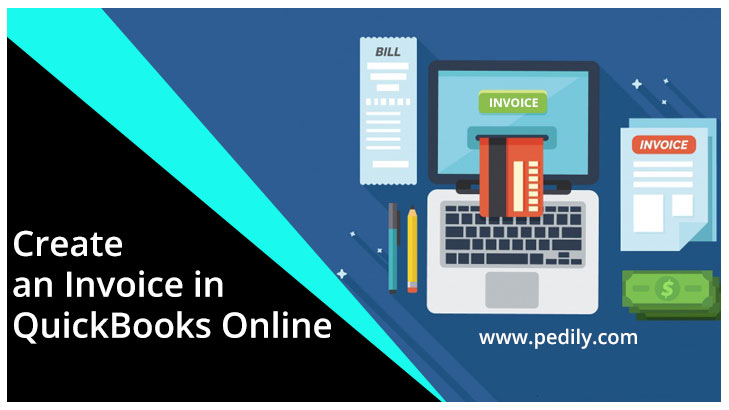
Invoice in QuickBooks Online can be used for small and mid-sized businesses. They help you to manage your business accounts, track inventory, etc. To create an invoice first you did know what is an invoice in QuickBooks and why should you create an invoice in QuickBooks, so lets first know that.
What is Invoice
An invoice is a document that provides a detailed description of the products and services you provide to customers and how much they cost. Sales made on credit require an invoice. In other words, if customers do not pay you at the time of sale, then you need to keep an eye on the things they owe you so that you can be sure to get paid in the future. Invoices help you manage your accounts receivable. Accounts receivable is the amount owed to you by your customers.
Why do you need to create an Invoice in QuickBooks Online
There have two benefits of creating an invoice in QuickBooks Online –
Firstly your financial statements are updated in real-time to reflect the change in your accounts receivable and bank account balances.
Second is, you can directly email invoices to your customers using QuickBooks as well as QuickBooks Online.
To create an invoice in QuickBooks
Step 1:- Navigate to Create Invoice
From the home page in QuickBooks, Select the invoice as given below.
Step 2:- Create Invoice
The invoice form should be displayed on your screen and the fields that should be completed are as follows:
- Customer name
- Then customer email address
- The billing address and local address
- Terms
- Invoice date
- Due date
- Product/Service
- Description
- Quantity
- Rate
- then the Amount
- Then last delete an item, just click the trash can symbol in this column.
Step 3:- Preview Invoice
Once you have completed all of the necessary fields, Just click the Print or Preview button at the bottom of the screen. Below is a complete sample invoice for our fictitious company, Paul’s Plumbing.
Step 4: – Send invoice to the customer
Once you are satisfied with the invoice, you can print it and mail it to your customer, or you can email it directly from QuickBooks.
To Change invoice number in QuickBooks
In the future, whenever you want to change invoice number in QuickBooks and you don’t know how to change it. Don’t worry in below I will prove to you the easy steps to change invoice number.
- Go to the Main Dashboard.
- Then click the Sale option.
- And in the Sale windows, then click the Invoice option
- After this click the change Invoice option.
- Now change your invoice number.
- When you change the number.
- Then click Save and Close option.
By following these steps you can easily change the invoice number in QuickBooks.
Errors when using invoices in QuickBooks
Below I am telling you the common error in QuickBooks that you will encounter when using invoices in QuickBooks.
- Cannot Edit Invoice Error.
- Unable to send Invoice in QuickBooks.
- The invoice is not displayed on-screen.
- Invoice import Failed error.
- Open invoice error.
- Paid invoice error.
- Avoid invoice error.
Whenever you encounter any error in these types and QuickBooks in the future, you have only one option to join our QuickBooks technical support team. Then they will solve all your types of errors and issues.
Conclusion:
I hope that the above information will help you to create an Invoice in QuickBooks. And also you want more information about Quickbooks and our support services then you can hire the QuickBooks ProAdvisor and can get more information.